
Welcome, today we are ready to create our first CakePHP 4.0 application. Before we create CakePHP 4.0 project we have to do minor modification in the "Php.ini" file.
Start your XAMPP control panel and click on “Config” button in the Apache service row and select the Php.ini file. It will open the configuration file in the text editor. Now locate the extension intl and un-comment by removing the semicolon from the beginning.

It’s time to create the first CakePHP 4.0 application. Open the command prompt and navigate to your web root folder, in my case it is “C:\xampp\htdocs”. At the command prompt type command as below.
Composer create-project --refer-dist cakephp/app:4.0 cakephpapp1
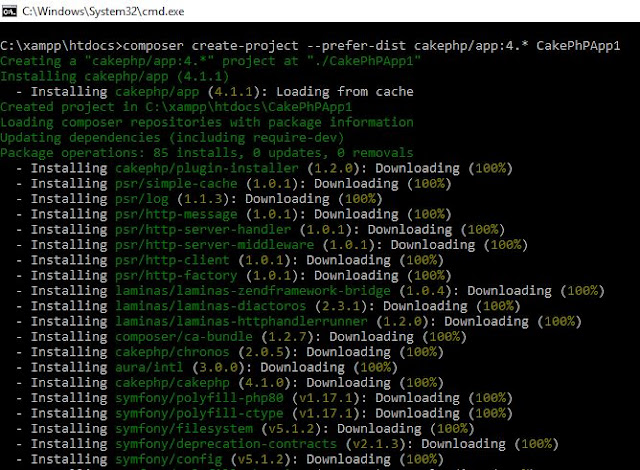
This command will download the CakePHP 4.0 application skeleton and all its required default dependencies initially required to build the application. This process will take some time to download all dependencies.
This command will create the folder in the htdocs folder with your provided application name. You will see the folder structure as shown in the below in the image.

Good so we have created our application. Lets verify the newly created CakePHP 4.0 application. Open the command prompt again and navigate to your application folder, type the below command.
Bin\cake server –p 8765
This command will start the built-in application test server on port 8765. Open your web browser and type the below address in address bar.
Localhost:8765
You will see the CakePHP 4.0 welcome screen, its mean you application is created successfully.

On the welcome screen you will notice that the application has failed the database connection. In the next post we will discover how to configure database to our application.

Stay tuned with us, we will learn more and grow more with CakePHP 4.0.


0 comments:
Post a Comment
Note: Only a member of this blog may post a comment.